3. Authentication
In this step we add authentication so users can sign in with magic email links. @cfast/auth wraps Better Auth with sensible defaults for Cloudflare Workers and D1.
By the end of this step, the blog will have a login page and the home page will show who is signed in.
New dependencies
Section titled “New dependencies”| Package | Why |
|---|---|
@cfast/auth | Pre-configured Better Auth for Workers + D1 |
better-auth | The underlying auth library |
New and changed files
Section titled “New and changed files”Directorystep-03-auth/
Directoryapp/
- auth.server.ts — server-side auth setup (new)
- auth.client.ts — client-side auth instance (new)
- schema.ts — updated with auth tables
- env.server.ts — updated with APP_URL
- db.server.ts
- root.tsx — updated with AuthClientProvider
- routes.ts — updated with auth and login routes
Directoryroutes/
- auth.$.tsx — auth route handler (new)
- login.tsx — login page (new)
- home.tsx — updated with user display
- package.json — updated
- react-router.config.ts
- tsconfig.json
- wrangler.jsonc
Walkthrough
Section titled “Walkthrough”-
Add auth tables to the schema
Better Auth needs tables for users, sessions, accounts, and verifications. These follow Better Auth’s conventions.
app/schema.ts import { sqliteTable, text, integer } from "drizzle-orm/sqlite-core";// --- Auth tables (required by @cfast/auth / Better Auth) ---export const users = sqliteTable("users", {id: text("id").primaryKey(),email: text("email").notNull().unique(),name: text("name").notNull(),emailVerified: integer("email_verified", { mode: "boolean" }).notNull().default(false),createdAt: integer("created_at", { mode: "timestamp" }).notNull().$defaultFn(() => new Date()),updatedAt: integer("updated_at", { mode: "timestamp" }).notNull().$defaultFn(() => new Date()),});export const sessions = sqliteTable("sessions", {id: text("id").primaryKey(),userId: text("user_id").notNull().references(() => users.id, { onDelete: "cascade" }),expiresAt: integer("expires_at", { mode: "timestamp" }).notNull(),token: text("token").notNull().unique(),ipAddress: text("ip_address"),userAgent: text("user_agent"),createdAt: integer("created_at", { mode: "timestamp" }).notNull().$defaultFn(() => new Date()),updatedAt: integer("updated_at", { mode: "timestamp" }).notNull().$defaultFn(() => new Date()),});// accounts and verifications tables follow the same pattern...// --- Application tables ---export const posts = sqliteTable("posts", {id: integer("id").primaryKey({ autoIncrement: true }),title: text("title").notNull(),content: text("content").notNull(),authorId: text("author_id").notNull().references(() => users.id),createdAt: integer("created_at", { mode: "timestamp" }).notNull().$defaultFn(() => new Date()),});Notice that
posts.authorIdnow has a foreign key reference tousers.id. This links blog posts to authenticated users. -
Add APP_URL to the environment
Auth needs to know the application URL for magic link callbacks.
app/env.server.ts import { defineEnv } from "@cfast/env";export const env = defineEnv({DB: { type: "d1" },APP_URL: { type: "var", default: "http://localhost:5173" },});The
defaultmeans it works out of the box in local development. In production, setAPP_URLin your Wrangler config or viawrangler secret put. -
Set up server-side auth
createAuth()returns aninitAuthfunction. You callinitAuth()with the D1 binding to get an auth instance per request.app/auth.server.ts import { createAuth } from "@cfast/auth";import { definePermissions } from "@cfast/permissions";import { env } from "./env.server";// Minimal permissions for now -- we expand these in Step 4const permissions = definePermissions({roles: ["reader"] as const,grants: {reader: [],},});export const initAuth = createAuth({permissions,magicLink: {sendMagicLink: async ({ email, url }) => {// In development, log the magic link to the consoleconsole.log(`[Magic Link] Send to ${email}: ${url}`);},},session: { expiresIn: "30d" },defaultRoles: ["reader"],});export function getAuth() {const e = env.get();return initAuth({ d1: e.DB, appUrl: e.APP_URL });}export async function getUser(request: Request) {const auth = getAuth();const ctx = await auth.createContext(request);return ctx.user;}Why
definePermissionshere?createAuthrequires a permissions object so it knows which roles exist. We start with a singlereaderrole and no grants. Step 4 replaces this with a full permission model. -
Create the client-side auth instance
The client needs its own auth instance for triggering login flows.
app/auth.client.ts import { createAuthClient, magicLinkClient } from "@cfast/auth/client";export const authClient = createAuthClient({plugins: [magicLinkClient()],});This file has no
.serversuffix, so it is included in client bundles. It only contains the client-side auth SDK — no secrets, no D1 access. -
Wrap the app with AuthClientProvider
Update
root.tsxto provide the auth client to all routes.app/root.tsx import { Links, Meta, Outlet, Scripts, ScrollRestoration } from "react-router";import { AuthClientProvider } from "@cfast/auth/client";import { authClient } from "./auth.client";// Layout stays the same...export default function App() {return (<AuthClientProvider authClient={authClient}><Outlet /></AuthClientProvider>);} -
Add the auth route handler
Better Auth needs an API endpoint to handle magic link callbacks, session management, and other auth operations. This catch-all route forwards everything to Better Auth.
app/routes/auth.$.tsx import { createAuthRouteHandlers } from "@cfast/auth";import { getAuth } from "../auth.server";const { loader, action } = createAuthRouteHandlers(() => getAuth());export { loader, action };The
*in the route path (api/auth/*) means this handler receives all requests under/api/auth/— sign-in, callback, sign-out, etc. -
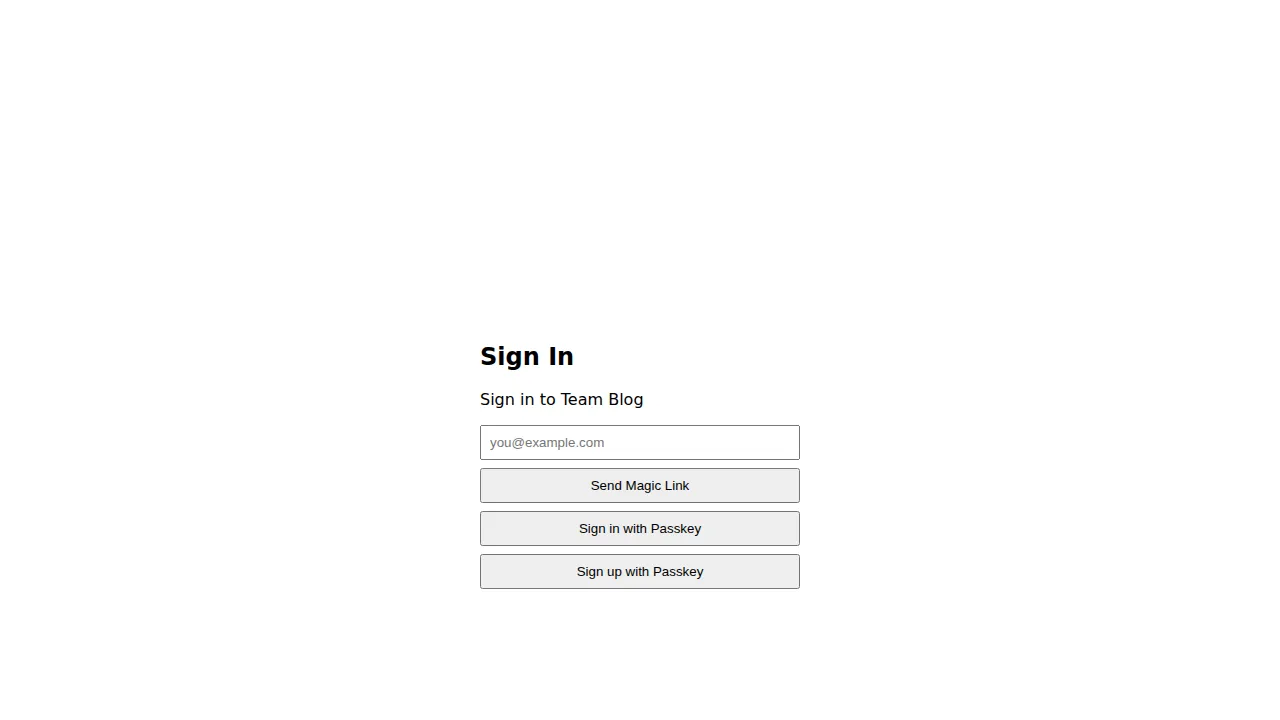
Create the login page
@cfast/auth/clientexports aLoginPagecomponent with a built-in email input and magic link button.app/routes/login.tsx import type { LoaderFunctionArgs } from "react-router";import { redirect, useLoaderData } from "react-router";import { LoginPage } from "@cfast/auth/client";import { authClient } from "../auth.client";import { getUser } from "../auth.server";import { env } from "../env.server";export async function loader({ request, context }: LoaderFunctionArgs) {env.init(context.cloudflare);const user = await getUser(request);if (user) throw redirect("/");return {};}export default function Login() {useLoaderData<typeof loader>();return (<LoginPageauthClient={authClient}title="Sign In"subtitle="Sign in to Team Blog"/>);}The loader redirects already-authenticated users back to the home page.
-
Update routes to include auth and login
app/routes.ts import { type RouteConfig, index, route } from "@react-router/dev/routes";export default [index("routes/home.tsx"),route("login", "routes/login.tsx"),route("api/auth/*", "routes/auth.$.tsx"),] satisfies RouteConfig; -
Show the current user on the home page
Update the home page loader to check authentication and pass the user to the component.
app/routes/home.tsx import type { LoaderFunctionArgs } from "react-router";import { useLoaderData, Link } from "react-router";import { desc } from "drizzle-orm";import { env } from "../env.server";import { getDb } from "../db.server";import { getUser } from "../auth.server";import { posts } from "../schema";export async function loader({ request, context }: LoaderFunctionArgs) {env.init(context.cloudflare);const db = getDb();const user = await getUser(request);const allPosts = await db.select().from(posts).orderBy(desc(posts.createdAt));return {posts: allPosts,user: user ? { id: user.id, email: user.email } : null,};}export default function Home() {const { posts: postList, user } = useLoaderData<typeof loader>();return (<main><header><h1>Team Blog</h1>{user ? (<span>Signed in as {user.email}</span>) : (<Link to="/login">Sign In</Link>)}</header>{/* post list rendering... */}</main>);}
The authentication flow
Section titled “The authentication flow”- User visits
/loginand enters their email address - Client calls the magic link endpoint via the auth client
- Server generates a token, stores it in D1, and calls
sendMagicLinkwith the link URL - In development, the link appears in your terminal. User copies it into the browser
- The link hits
/api/auth/callback, which verifies the token and creates a session - User is redirected to the home page, now authenticated
Regenerate migrations
Section titled “Regenerate migrations”After adding the auth tables to your schema, regenerate migrations:
npx drizzle-kit generatenpx wrangler d1 migrations apply DB --localNext step
Section titled “Next step”In Step 4: Permissions, we add role-based access control so different users see different content.